


Basic Bread Recipe, With A Touch Of Honey

MAKES 1 LOAF
COOKS IN 45 MINUTES PLUS PROVING
DIFFICULTY NOT TOO TRICKY
Ingredients
- 20 g fresh yeast , or 2 × 7g sachets of dried yeast
- 20 g runny honey
- 500 g strong bread flour , plus extra for dusting
- 500 g fine semolina flour , plus extra for dusting (if you can’t get hold of any semolina flour, plain flour will do)
Method
- Dissolve the yeast and honey in 325ml of tepid water.
- On your largest available clean surface (even a big bowl will do if surfaces are limited), make a pile of the flour, semolina flour and 10g of sea salt. With one hand, make a well in the centre. (If possible, it is preferable to warm the flour and semolina flour.)
- Pour all the dissolved yeast mixture into the centre and with four fingers of one hand make circular movements, from the centre working outwards, slowly bringing in the dry ingredients until all the yeast mixture is soaked up. Pour another 300ml of tepid water into the centre and gradually incorporate all the flour to make a dough. (Certain flours may need a little more water, so don’t be afraid to adjust the quantities.)
- Kneading! This is the best bit, just rolling, pushing and folding the dough over and over for 5 minutes. This develops the structure of the dough and the gluten. If any of the dough sticks to your hands, just rub them together with a little extra flour.
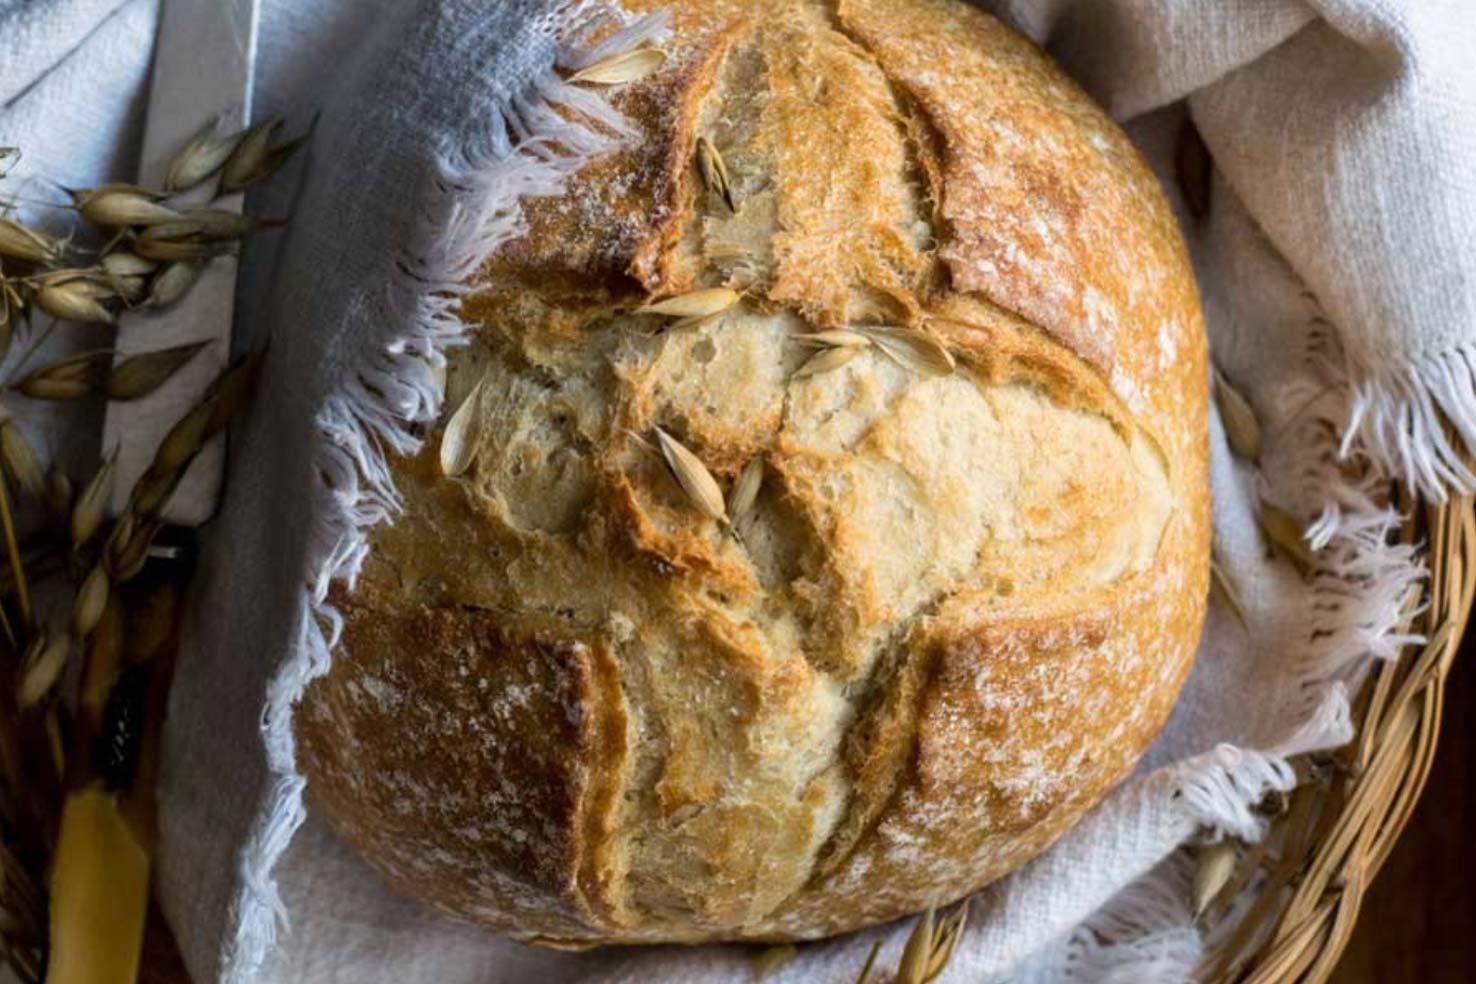
- Flour both your hands now, and lightly flour the top of the dough. Make it into a roundish shape and place on a baking tray. Score the dough with a knife – this allows it to relax and prove more quickly.
- Leave the bread to prove for the first time. Basically we want it to double in size. You want a warm, draught-free place for the quickest prove, for example near the cooker, in the airing cupboard, in the plate warmer of a cooker or just in a warm room, and you can cover it with a clean damp tea towel. This proving process matures the flour flavour and should take approximately 40 minutes to 1 hour 30 minutes, depending on the conditions.
- Right, it’s double the size and time to knock it back. Knead and punch the dough, knocking all the air out of it, for about a minute.
- Shape the dough into whatever shape you want – round, flat, filled, or whatever – and leave to prove a second time in a warm place until the dough is double its size. Preheat the oven to 220°C/425°F/gas 7.
- Now it’s time to cook your loaf. After all your hard work, don’t spoil your efforts. You want to keep the air inside the loaf, so don’t knock it, put it very gently into the oven and don’t slam the door.
- Bake for 20 to 25 minutes, or until it’s cooked. You can tell if it’s cooked by tapping its bottom (if it’s in a tin you’ll have to take it out) – if it sounds hollow it’s cooked; if it doesn’t, pop it back in for a little longer.
- Place the bread on a wire rack to cool. You’re going to love this bread!
Tips
You can do steps 2, 3 and 4 in a free-standing mixer if you like, using the dough hook attachment.
When the bread is proving, the yeast is feeding on the honey in the warmth of the tepid water. In theory the three things that all bacteria need to grow are heat, moisture and food. Any excess of these three things will kill the yeast (as well as salt, which seasons the bread – it’s not half so nice without it, but it does slow down the proving to some extent).
The important thing is not to lose your confidence when it comes to cooking the bread; if you don’t think the dough has proved enough, leave it a bit longer and check the warmth or for any draughts.
Leave a comment